Feeds:
Posts
Comments

Rosette Pillow [DIY]

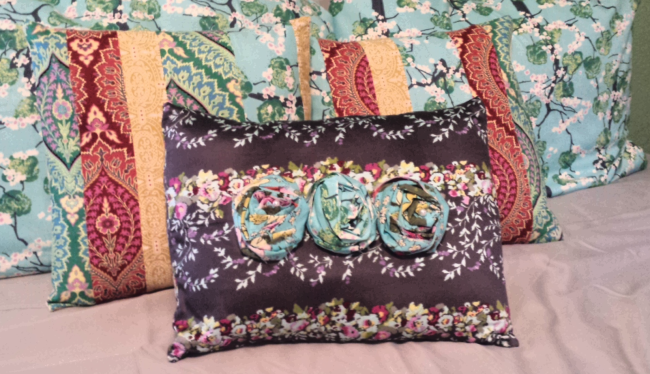
Rosettes are my thing right now. I’m putting them on everything. This pillow is the latest in this trend. It’s so cute and easy, how could I not share?

Image

Supplies

  • Fabric for the pillow
  • WOF (width of fabric) x 6 inch strips for each rosette
  • Pearls or other center accents
  • Spray adhesive
  • Glue gun and glue
  • Pillow form

Make it!

  1. Make a pillow cover to fit your pillow form. If you don’t know how to do this, Sew Mama Sew has a great tutorial here.
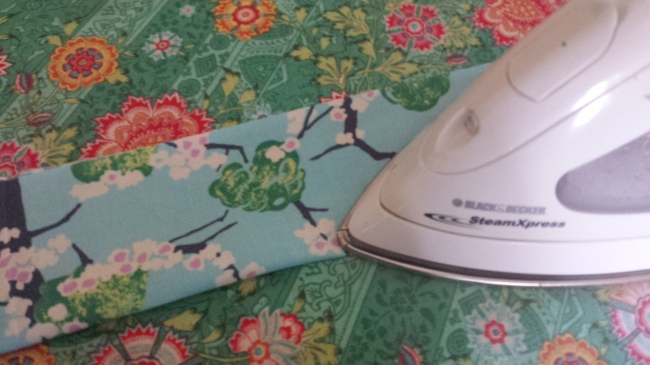
  2. Make your rosettes. Iron each WOF x 6 inch strip in half lengthwise, right sides out.
  3. Spray the entire thing liberally with spray adhesive.
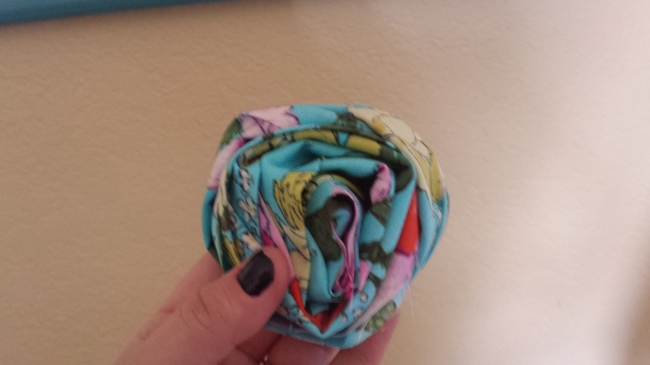
  4. Pinch on end in your left hand, and use your right hand to begin wrapping the strip around itself. Allow it to twist to make “petals.”
  5. Using a tiny bit of hot glue, glue your pearl or other accent to the middle of the rosette. Press down on the rosette with your hand to flatten it, secure the pearl, and secure the spray adhesive.
  6. Drizzle hot glue all over the back of the rosettes, and glue them onto the pillow case.
  7. Insert your pillow form. You’re done!

Image

Image

Please don’t look at my nails. I got a little over zelous picking off the spray adhesive.
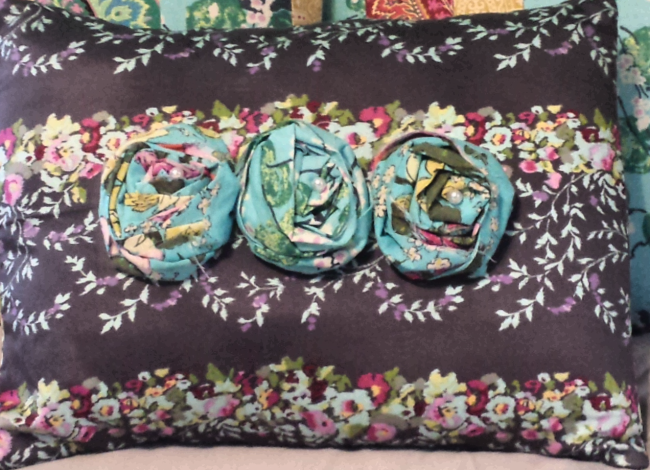
Image

Image

2013-09-27 09.06.17

I like food.

I REALLY like warm, gravy-y food that’s served in a big bowl with some nice carbs for dippin’ when it starts to get cold outside. I also like not feeling bloated and gross after eating a meal like that, which is what happens to me when I load up on gluten.

Here’s my gluten-free chicken and dumplings recipe. It’s warm, it’s layered with flavor, it’s GOOD FOR YOU, and it’ll feed a family of 4 at least twice.

I didn’t list amounts except where it really matters. Use what you have, and be creative!

Stew Ingredients:

  • 1 whole chicken, gizzards removed
  • Several carrots, chopped
  • Several celery stalks, chopped
  • 3 sprigs of fresh thyme
  • package of mushrooms, or about 3 cups
  • 2 bunches or 1 big bunch kale, stems removed and torn into bite-size pieces
  • Frozen peas
  • Fresh parsley, chopped
  • 1 onion
  • Minced garlic – about a tablespoon
  • Heavy cream – about a cup
  • Tapioca flour/startch to thicken the broth into gravy. Use cornstarch if you want, or flour if you aren’t sensitive to it. The method is the same, but add a little at a time.

Dumpling Ingredients:

  • Up to 2  cups almond flour
  • Up to 1 cup tapioca starch
  • 3 – 4 eggs, depending on size
  • chicken broth (optional)
  • fresh chopped parsley (optional)

Stew Directions:

  1. Put the chicken, mushrooms, celery, carrots, onion, thyme sprigs (leave them whole) and garlic in a large crockpot.  Add a few cups of water to fill the crockpot up.
  2. Cook on high for 4 hours.
  3. After 4 hours, remove the chicken and set it aside to cool.
  4. Add the kale, fresh parsley, and peas, and turn the crockpot to warm.
  5. Once the chicken is cool enough to handle, pick the meat off and put the meat back in the crockpot. Give your dog the fat and soft tissues from the chicken if you want. (NO BONES!)
  6. Add 1 cup heavy cream or half and half to the crockpot and stir.
  7. Remove a little of the broth/cream mixture with a mug, and add a few tablespoons of tapioca starch. Mix until it’s integrated, then add it back to the crockpot. Keep this up until it’s as thick as you want it. You can use cornstarch or flour here too.
  8. Season to taste with salt and pepper, and fish out the now-bare thyme twigs.

Dumpling instructions:

  1. Bring a pot of water or broth/water mixture to boil.
  2. Beat the eggs until they’re light and fluffy.
  3. Add 1 1/2 cup almond flour and 1/2 cup tapioca flour.
  4. Keep adding a little almond flour and tapioca flour until you get the consistency of very thick pancake batter.
  5. Season with salt and pepper, and add the parsley.
  6. Using two spoons, drop the batter by spoonful into the boiling water/broth. I use one spoon to scoop and lower, and another to scrape it off the first spoon.
  7. Let the dumplings boil for about 4-5 minutes.
  8. Remove the dumplings with a slotted spoon. They’ll be ugly looking, but they’re SO GOOD!
  9. Either add the dumplings to the stew and serve, or if you’re planning for leftovers, place in the bottom of the bowls and ladle the stew on top of them. You don’t want to store the dumplings in the stew overnight because they’ll fall apart.

And that, ladies and gentlemen, is the greatest chicken and dumplings recipe ever, even beating out my grandmother’s traditional recipe.

Enjoy, and you’re welcome.


20130923_101007

20130923_100918

20130923_101104

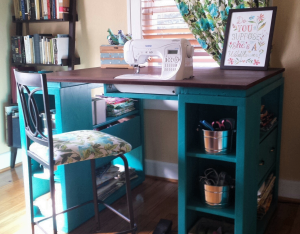
I have been looking at sewing furniture for years, but the prices always made my jaw drop. I have a small craft room, so I needed a table that could also triple as a cutting table and fabric storage. Thank you so much to Ana White for this plan! I built this table exactly to the plan for the Modern Craft Table in Ana White’s The Handbuilt Home, and it’s the PERFECT size.

So the sewing machine can sit flush with the top, making working on big sewing projects way easier, I traced the outline of my machine on the MDF and cut it out with a jig saw. Then I built a small shelf using a 1×12 scrap and 2 1×3 scraps. Putting the 1x3s on top of the 1×12 made the shelf 3.75 inches deep, which is exactly the depth I needed. I attached it to the underside of the tabetop using a pockethole jig and screws.

I built 2 boxes using 1/4 inch plywood, and installed drawer pulls on them, giving the illusion that the table has 2 drawers built in. This is where I keep my ugly stuff–interfacing and fabric scraps.

I got the color scheme for the table from the entryway console plan in The Handbuilt Home. In order to make the MDF top look like it had a wood grain, I applied mahogany gel stain with an old washcloth in very thick strokes that spanned the length of the tabletop. It soaked in and lost the “grain” look in some places, but the majority still looks like wood. I did have to apply several coats of polyurathane over the stain; the MDF has a prickly texture that grabs fabric and makes it hard to feed through the sewing machine.

My only complaint is that I didn’t quite think through the fact that seating is bar height and I’m 5’7″. It’s a little difficult to reach my sewing machine pedal. I may build a small stool for the pedal to sit on so I don’t have to half sit/stand to sew.

This is the first woodworking project I’ve done alone from start to finish: from going to Lowe’s and picking out the wood, to cutting the wood with a circular saw, assembly, and finishing. (Adam did carry it up the stairs for me. 🙂 )

2013-09-23 09.46.22

I’m so in love with this table! And now to finish the quilt I started 6 months ago….

Finished

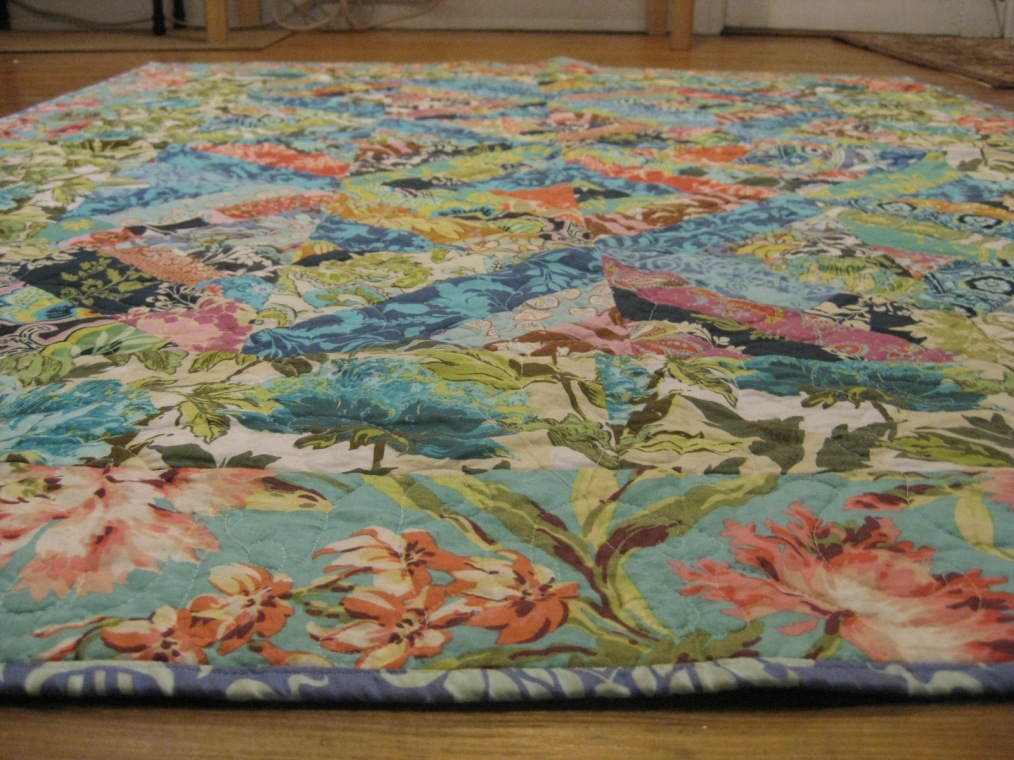
Disclaimer: this isn’t the quilt I planned to make when I posted a while ago. I made that one, and it looked fine, but it wasn’t THE quilt I wanted.

Luckily I had enough scraps to make another. And this one is perfection.

Image

Image

Image

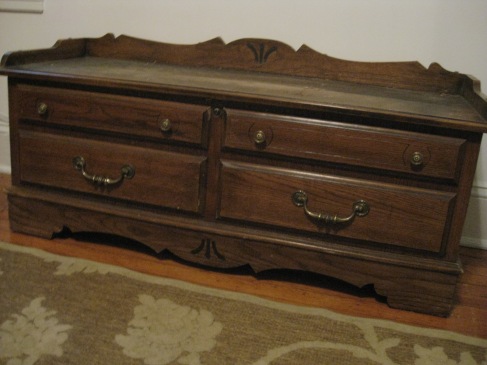
My parents gave me this old foot chest when I was home in July. It was in my room as a little girl, and I’ve always loved it. It’s spent the past 10 years collecting dust and mementos in their basement. I managed to lug it up to my second-floor apartment by myself, and now it’s once again in my bedroom, storing quilts made me, my grandmothers, and my great-grandmother.

Image

Image

Image

Image

Image

Seriously, is there nothing that grey paint and Amy Butler fabric can’t fix?

A Quilt Begins

I’ve made six quilts in the past year. A few were gifts, a few were to sell, and a few were for me to use. Of the ones I’ve kept, only one has any real emotional significance to me, and that was the first one. The others are just pretty compilations of pretty fabric that keep me warm when it’s a bit chilly.

I want to make a quilt that means something.

So I’m going to.

I’ve never done a scrappy quilt before, but seeing as how my scrap box overfloweth, it’s probably time. Many scrappy quilt patterns I’ve seen on pinterest and elsewhere seem really complicated, which would totally cramp my “patchwork is awesome because you can do WHATEVER you want” style. So I won’t be doing those. Instead I’ll be making a color-blockish pattern with simple 10-inch blocks (easy to cut, easy to piece, easy to stitch-in-the-ditch).

What’s the meaning in a scrappy quilt? Fabric for me holds emotions and memories like pictures do for other people. Looking at beautiful fabric I can recall every project I’ve made with that particular print: the excitement, the frustration, the triumph, and joy on the face of the person receiving it. Fabric is my cognitive therapy.

The first step was to sort all the scraps by color: blues, greens, reds/pinks, and whites/yellows. This was probably the most enjoyable activity I’ve ever done. Seeing each little piece, feeling them, and then organizing them with their pretty brothers and sisters. You’ll notice most of this is Amy Butler and Sandi Henderson. I never pretended not to be obsessed.

ImageImage

And now the piecing begins! I have no real plan, which is how I like it. More to come.

My sister is quickly surpassing me in the kitchen. I’m ok with it, for the most part. Especially when she teaches me things like Chicken a la Sis.

What is Chicken a la Sis, you ask? It’s a chicken breast stuffed with 1-2 vegetables and cheese. The possibilities are endless: asparagus and mozzarella; red pepper, spinach, and gouda; spinach and Swiss; broccoli and cheddar, and on and on.

Here’s how you do it:

1. Saute your vegetable(s) in some olive oil and garlic until they soften.
2. Stuff the chicken with what you just sauteed. There are two ways to do this.

  • Pound the chicken flat and thin, then roll it up with the stuffing inside, securing with toothpicks.
  • Cut a small slit, then cut an opening in the side of the chicken breast (so the opening is small, but you can stuff to the outer edges all the way around.

3. Put your cheese in the chicken.
4. Bake at 400 for about 30 – 35 minutes.


What combinations can you come up with? Please share!

Last December I ordered a dozen or so yards of Amy Butler’s Lark line. And boy, I’ve put it to good use. I’ve made: a queen-sized duvet and 2 matching shams, 2 throw pillows, a Blossom handbag, an enormous overnight tote, a Kindle case, a Cosmo bag, 3 coin purses, a Teardrop purse, a clutch for my sister, coasters, and I even hung 2 fat quarters on my living room wall.

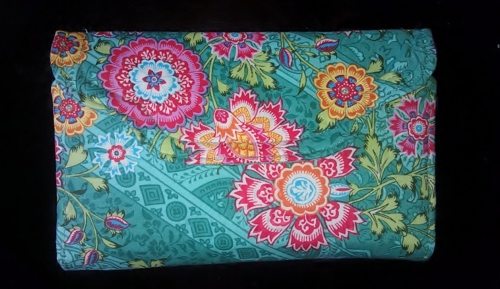
Sadly, my hoard is shrinking. I used the last of my favorite, Heirloom Jade, earlier in the week. And when I say I used the last bit of it, I mean it. I literally have nothing left; no scraps, nothing. But I made something that I’ll see very often, which is good, because this fabric just makes me smile.

I’ve posted before about how I’m working through Amy’s Style Stitches book. I made my mom a Beautiful Balance checkbook cover for Mother’s Day, and modified that pattern to make a wallet for myself. If you’ll notice, ladies and gents, it comes complete with a zippered pouch on the back for change. I’m so proud of myself for figuring out how to do that.

Last night was my kind of night. I had a stroke of brilliance for a project around 7:30, the kind of stroke that can’t wait, and ran to my fabric hoard room to see if I had the needed the supplies. This project was even better because except for a small piece of fusible interfacing and a magnetic snap, I had everything I needed.

I rushed across town to Hancock’s for said supplies, made it 3 minutes before they closed, and ended up staying until 8:10 chatting the ladies who work there (fabric addiction… it’s like a sisterhood).

Pulling back into my neighborhood I stopped and bought a bottle of Shiraz. Because it was a beautiful, rainy night and I was making an awesome project with beautiful fabric.

I spent the next two hours putting this gem together. I don’t have instructions posted for several reasons. I may want to sell these and/or the pattern; I may teach these in the sewing classes I’ll be teaching this summer; and… ahem… due to the wine I may not remember exactly how I put it together. That last part being said, I need to make another to capture the steps and measurements, so if you’re interested in buying one, please let me know.

(Fabric used: exterior – Amy Butler’s Lark Heirloom Jade; interior – Amy Butler’s Soul Blossom Dancing Paisley)

Bubbupdates

I really appreciate everyone who wished Kane well during our scare the week before last. After our initial trip to the vet, he did much better for a few days. Then, he began having the opposite problem–he couldn’t hold his pee. He ended up soaking both of us after sneaking onto the bed one night. Back to the vet, where the polyp/mass/spot on the X-ray looked the same, and the doctor drew blood to check for adrenal diseases.

The blood was mostly normal, but indicated a deficit in his thyroid production. So, my svelte, 1%-body-fat, solid muscle boy has hypothyroidism. The good news is this is a very treatable condition, and the herbal thyroid support supplements and Western thyroid medication are fairly inexpensive. We go back in 3 weeks to check the mass/polyp again, and for more blood work to see if the herbs have corrected his thyroid deficiency. (He’s also on several herbal supplements to break up whatever that mass is, so he can flush it.)

I haven’t seen any blood in his urine, and his overall demeanor is back to normal. He may even be a bit better than he was before this; some of the herbs target and quench his “fiery” constitution.

So, we keep moving forward.